- You are here:
- Win7Gadgets
- Blog
- How To Install Windows 7 Gadgets
How To Install Windows 7 Gadgets
Windows 7 gadgets can do wonders for any user since they are very convenient and there are multitudes out there that have different functions. These gadgets are small applications that run in the background and can act as calendars, clocks, battery indicators, system monitoring instruments, etc. Installing these wonderful applications take no time and can be done quite easily. Just follow the steps below.
1. Selecting a Windows 7 Gadget There are numerous gadgets on the internet for Windows 7 and all you have to do is make a simple search to find lists of different kinds of gadgets. One such list can be found at our website. A vast collection of Windows 7 gadgets can be seen here and you just have to select the one that suits your needs.
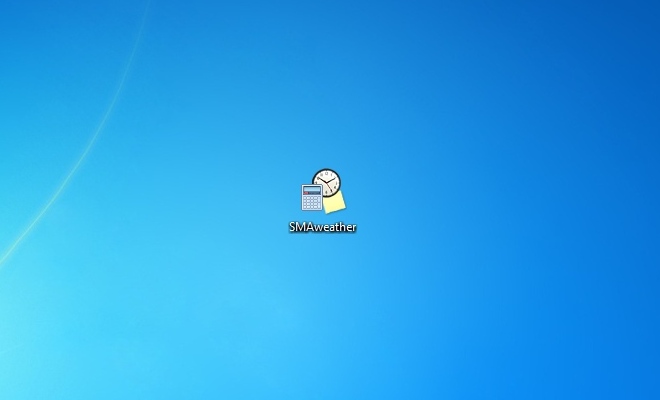
2. Downloading the Windows 7 Gadget After you have made your selection all you have to do is click on the gadget to download its file data. Wait for the file to finish downloading
3. Scan the file If you have an antivirus program scan the file first. You can never be too careful when it comes to stuff you download from the internet. Also, try downloading the gadget from a safe-looking website. You can usually tell if it is a good website if the gadget has reviews or comments below it.

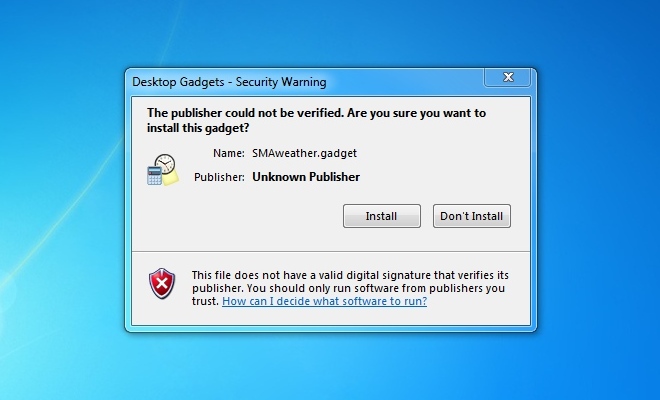
4. Execute the downloaded file. Once the file has finished downloading just double-click it and wait for it to execute. If you are presented with security warning that says "Publisher could not be verified" all you have to do is click on the Install button. This happens often because many Windows 7 gadgets are created by third party developers and they are presumed as security concerns since they do not meet Microsoft's identity verification requirements. Now worries though because this doesn't mean that the gadget file is an immediate danger. Just remember the previous step wherein you scan the file with your antivirus program.

5. Adjust and configure the settings of the gadget When the gadget is installing there may be some options that you need to change. These are usually given as choices so just choose the ones that will best suit your needs. Once you have configured these settings, the gadget will continue installing and when it has finished you can then enjoy the features of your selected Windows 7 gadget!
Now that we've finished talking about installing Windows 7 gadgets, let's now move on to uninstalling them. Funny enough, removing these gadgets are easier than installing. It only takes a few steps that are all listed below.
1. Simply go to your desktop and make a right-click.
2. Select Gadgets and a window will open showing all of your gadgets.
3. Again, right-click the gadget that you wish to delete from your computer.
4. A message will then appear on the screen asking for confirmation on whether to continue deleting the gadget or not. If you wish to continue just do so and if you want to cancel just select the cancelling option.
This is the easiest way of deleting a sidebar gadget but of course there are times when the gadget cannot be deleted simply form the gadgets interface. When this happens you may then have to remove its file folder by doing the following steps.
1. Open your Start menu and select Control Panel.
2. Once you are there, select Programs.
3. You will then see the selection for Programs and Features and underneath it select Uninstall a Program.
4. A window will open showing the different programs installed within your computer. Find the program of the gadget you want uninstalled.
5. Right-click on the program and select Uninstall.
6. A confirmation message may appear asking if you want to continue uninstalling the gadget, just select the option for it to continue and the gadget will be finally uninstalled.
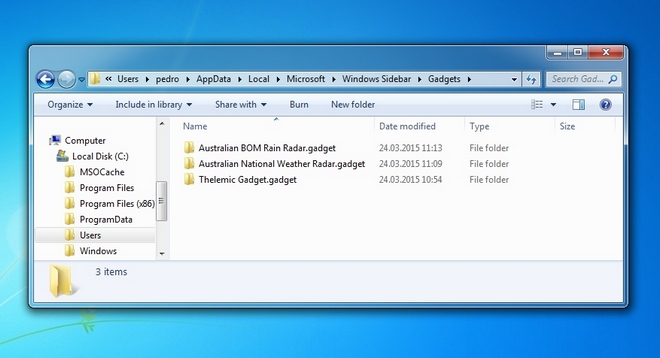
Last note, there are gadgets out there that are incredibly stubborn since they have been installed specifically for a certain user of the computer. You will have to locate its folder by following these steps:
1. Open your My Computer window.
2. Type in the top part of the window C:\Users\username\AppData\Local\Microsoft\Windows Sidebar\Gadgets. The username part is the name of the profile you use to log into your computer.

3. From there select the folder of your gadget and within it is an Uninstall file which you just have to click on for it to proceed. Again, a confirmation message may appear asking if you will continue with it so just select the option for the removal of the gadget to continue.